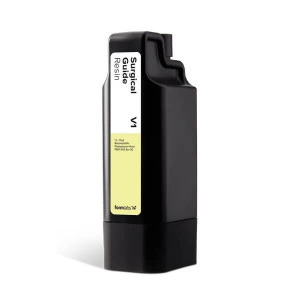


- Stock: In Stock
- Product code: 00-00013527
- Shipping Weight: 1.50kg
- SKU: RS-C2-CTBL-01
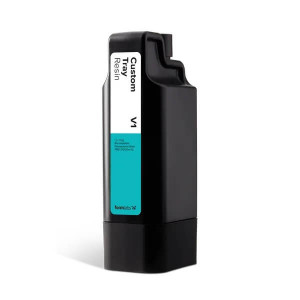
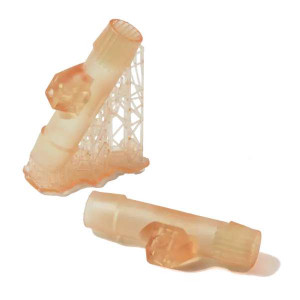
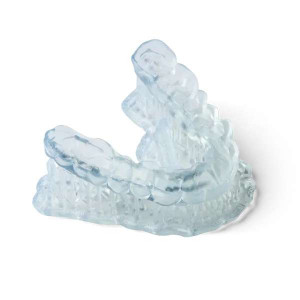
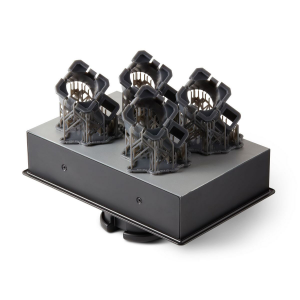
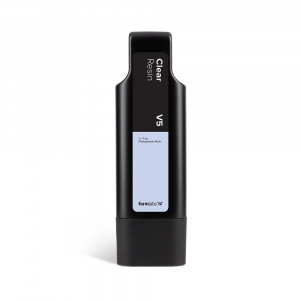
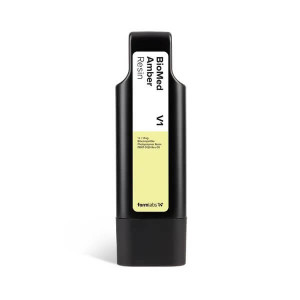
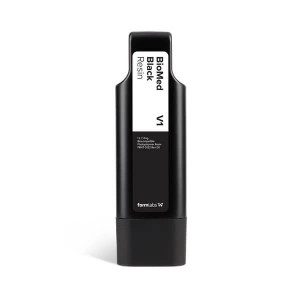
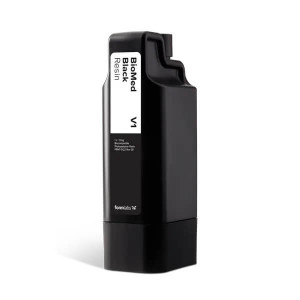
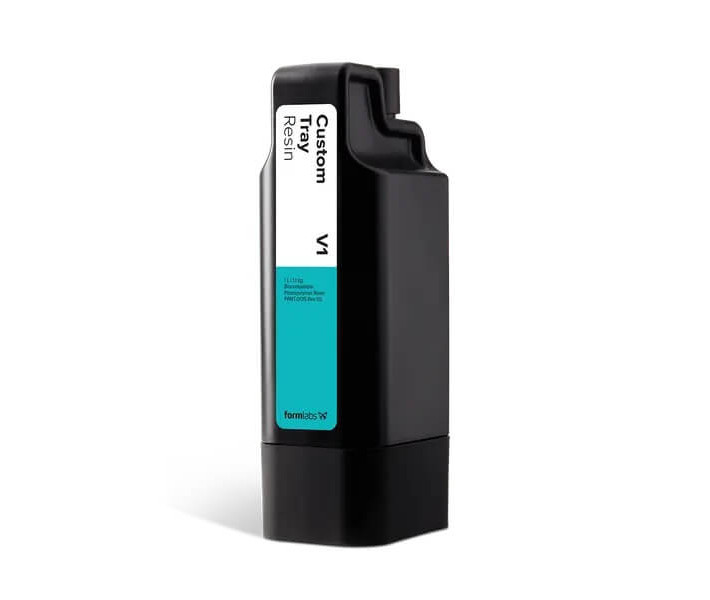
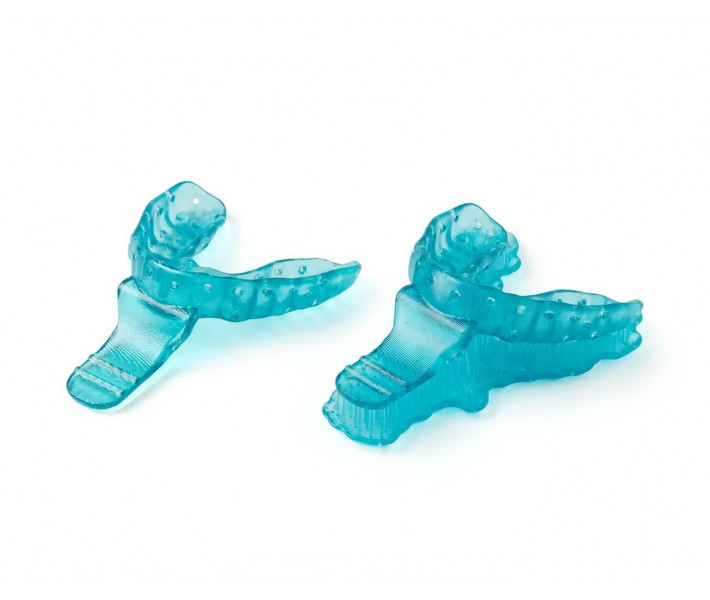
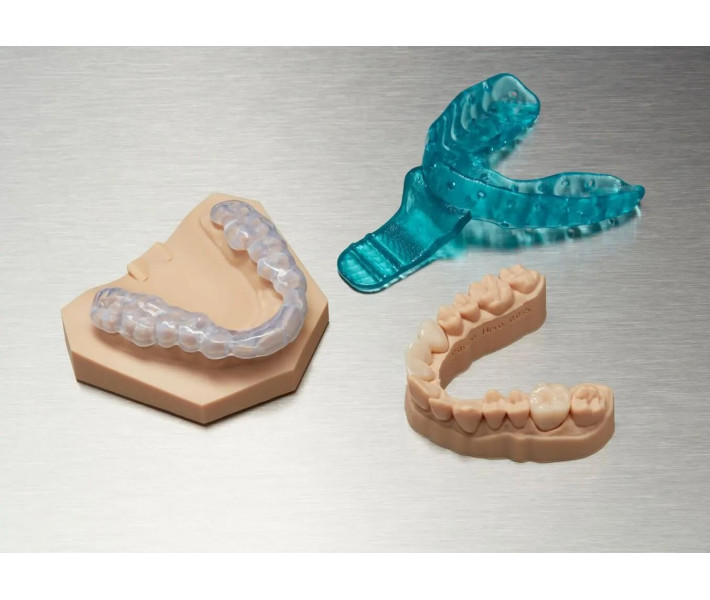
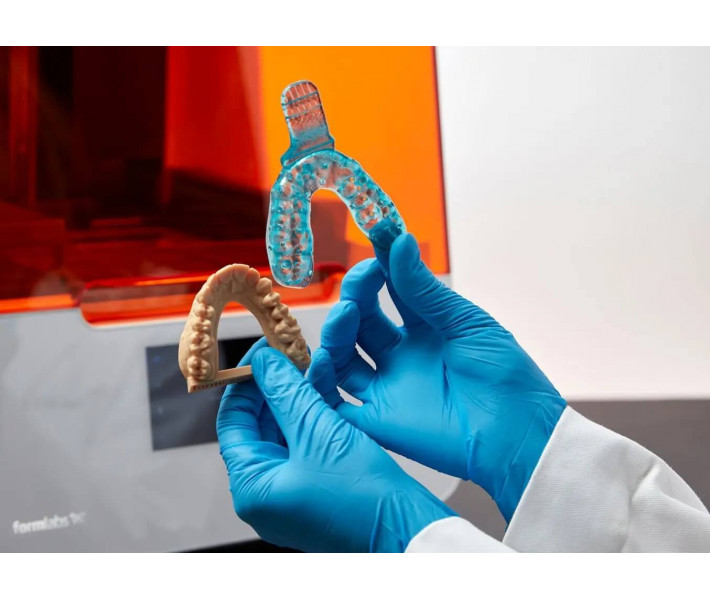
Revolutionize your dental practice with the Formlabs Custom Tray Resin Cartridge Form 4, 1L, a premier solution for digital dentistry. This fast-printing, biocompatible resin for dental trays is engineered to produce highly accurate, patient-specific impression trays with exceptional speed and efficiency. By integrating this advanced material into your workflow, you can significantly reduce turnaround times for implants, dentures, crowns, and bridges, while delivering superior patient outcomes and enhancing your clinic's productivity. It represents the next step in reliable, high-quality dental manufacturing.
Elevate Your Dental Practice with Advanced Resin Technology
Unmatched Speed and Efficiency
Dramatically cut down on labor time and boost your clinic's throughput. The Formlabs Custom Tray Resin is engineered for speed, printing full impression trays at a 200-micron layer height. This rapid production process allows you to serve more patients daily without ever compromising on the precision and quality of your work, making it an invaluable asset for a busy practice.
Precision-Crafted for Accuracy
Embrace a fully digital workflow to achieve flawless, repeatable results. This material ensures the creation of consistently accurate, patient-matched trays, which are fundamental for high-quality dentistry. The stability and precision of the resin guarantee that every impression taken is a perfect foundation for subsequent crowns, bridges, implants, and other complex restorative cases.
Tailor-Made for Complex Cases
Confidently tackle even the most challenging dental anatomies. With this resin, you can manufacture perfectly fitting impression trays that capture every intricate detail of the patient's oral structure. This leads to the creation of superior definitive models, ensuring an ideal fit for final restorations and significantly improving patient satisfaction and comfort.
Certified Biocompatible Material
Prioritize patient safety above all else. The Custom Tray Resin is a fully biocompatible material, certified for intraoral use. This gives both the clinician and the patient complete peace of mind, knowing that the materials used are safe, reliable, and meet stringent industry standards for quality and care in all dental applications.
Versatile Applications for Modern Dentistry
The Ideal Solution for Impression Trays
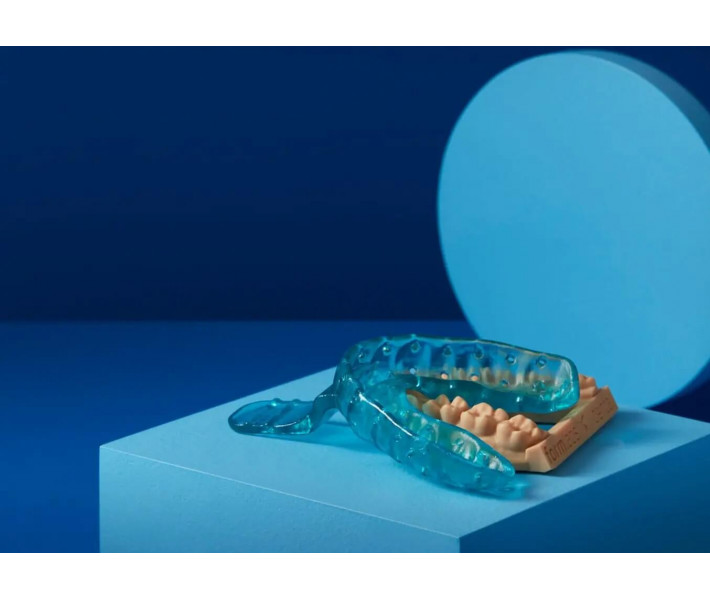
Expand the capabilities of your practice by leveraging the Formlabs Custom Tray Resin Cartridge Form 4, 1L across a wide range of procedures. It is the ultimate choice for producing custom impression trays essential for crowns and bridges, implants, dentures, and other comprehensive dental cases. Its reliability ensures you capture a highly accurate definitive impression every single time, streamlining your entire restorative process.
Key Material Properties
- Ultimate Tensile Strength: ≥ 70 MPa
- Young's Modulus: > 2500 MPa
- Elongation: > 3%
- Hardness Shore A: < 80A
Application Guide: From Scan to Finish
Follow this comprehensive guide to seamlessly integrate Formlabs Custom Tray Resin into your digital dental workflow, ensuring consistent, high-quality results for every patient.
Essentials: Required Hardware and Software
To get started, you will need a physical or digital impression of the patient's dentition and the following equipment:
Required Hardware and Materials:
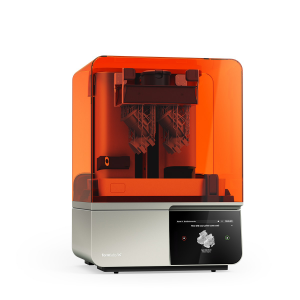
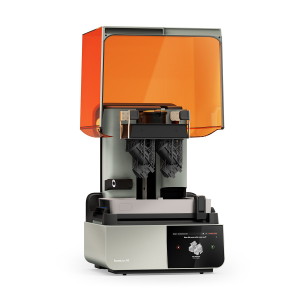
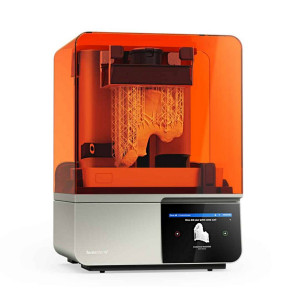
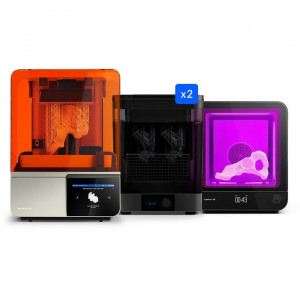
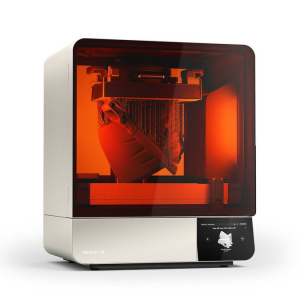
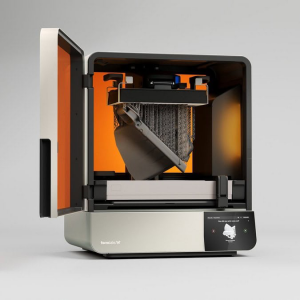
- Formlabs Form 2, Form 3B, or newer SLA 3D printer
- Compatible Resin Tank (Form 2 Resin Tank LT or Form 3 Resin Tank v2 or higher)
- Build Platform
- Formlabs Custom Tray Resin
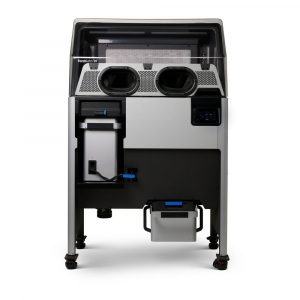
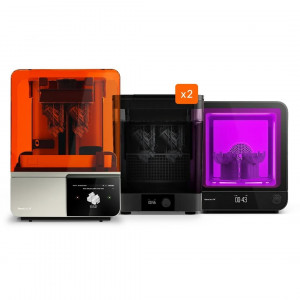
- Form Wash
- Form Cure
- Finishing Kit or secondary wash station
- Desktop 3D scanner (if using physical impressions)
- Low-speed dental handpiece with cutting and finishing wheels
- Isopropyl alcohol (IPA) ≥ 99%
Required Software:
- Formlabs PreForm Software (version 3.6.1 or higher)
- Printer Firmware (version 1.7.3 or higher)
- Dental design software (e.g., 3Shape, ZirkonZahn.Tray) or an outsourced design service
Step 1: Scanning
Acquire a digital impression of the patient's anatomy to serve as the basis for your custom tray design. You can achieve this by scanning the patient directly with a 3D intraoral scanner or by scanning a physical impression or poured model with a desktop 3D scanner.
Step 2: Designing the Tray
Use your preferred dental CAD software to design the custom impression tray. Ensure your design meets these general requirements: a minimum wall thickness of 2 mm and a minimum handle thickness of 3 mm. For heavy body impression materials, it is recommended to add retention holes of 3 mm in diameter. Once the design is complete, export it as an STL file for printing.
Step 3: Printing
Import the STL file into PreForm software. Select "Custom Tray" as the material and a layer thickness of 200 microns for the fastest printing. Orient the part with the intaglio surface facing away from the build plate to minimize supports on critical surfaces. Generate supports automatically or add them manually as needed. Once the setup is complete, shake the resin cartridge, insert it into the printer along with a build platform and compatible tank, and send the job to print.
Attention: For full compliance and biocompatibility, Custom Tray Resin requires a dedicated resin tank and build platform. Only use the Form Wash with other Formlabs biocompatible resins, such as Surgical Guide Resin.
Step 4: Post-Processing
After printing, follow these post-processing steps carefully:
- Part Removal: Wearing gloves, carefully remove the printed parts from the build platform using a removal tool.
- Washing: Place the parts in a Form Wash filled with IPA (≥99%) and wash for 10 minutes. Ensure parts are fully submerged. Exceeding the wash duration may affect dimensional accuracy.
- Drying: Remove parts from the IPA and let them air dry for at least 30 minutes. Compressed air can also be used. Ensure no residual resin or alcohol remains.
- Post-Curing: Place the clean, dry parts in a Form Cure and post-cure at 60°C for 30 minutes to achieve optimal mechanical properties and biocompatibility.
- Support Removal: Carefully cut the supports from the part using a cutting disk and handpiece. Avoid ripping supports, as this can leave divots.
- Finishing and Polishing: Smooth any rough marks left from support removal with a carbide rotary tool to improve patient comfort. For a high-gloss finish, you can optionally polish the tray using traditional dental acrylic polishing tools.
Step 5: Cleaning and Disinfection
Before clinical use, clean the finished part with a soft toothbrush using neutral soap and water. Inspect for any cracks or damage. Disinfect the custom tray according to your facility's protocols. A tested method is to soak the part in fresh 70% IPA for 5 minutes. Do not exceed this time. After disinfection, inspect the tray again to ensure its integrity.
Caution: IPA disinfection is not compatible with impregum polyether impression materials. Secondary disinfection methods must be verified for use by the manufacturer.
Why Buy from 3DDevice?
Elevate your dental practice today with the Formlabs Custom Tray Resin. As an official representative of Formlabs, 3DDevice guarantees you the best price, a full official warranty, and expert service support. With experience in the 3D industry since 2012, our team provides qualified advice to help you choose the perfect solution. We offer comprehensive support before, during, and after your purchase. Contact us to optimize your workflow!

