

- Stock: In Stock
- Product code: 00-00012392
- Shipping Weight: 19.00kg
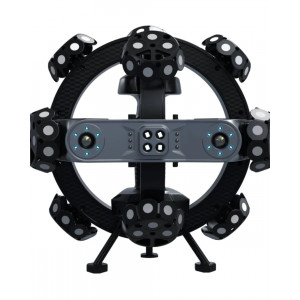
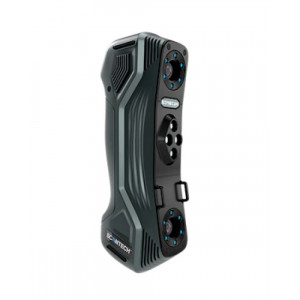
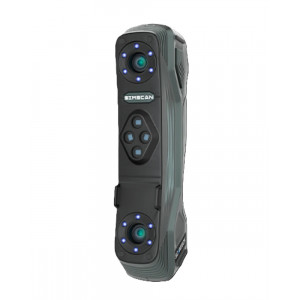
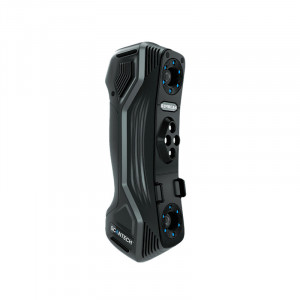
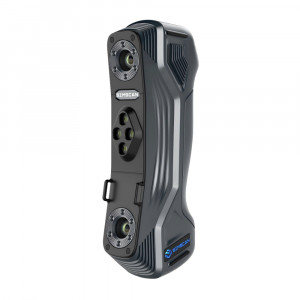
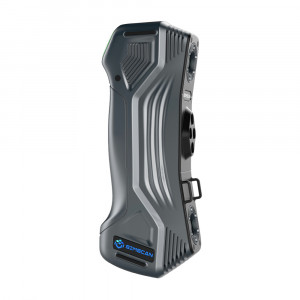
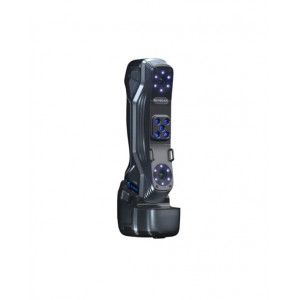
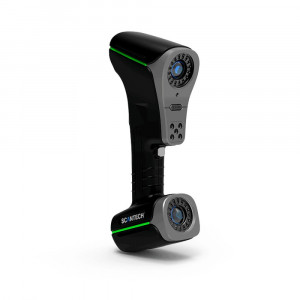
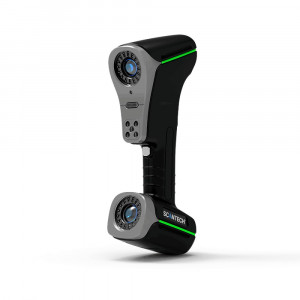
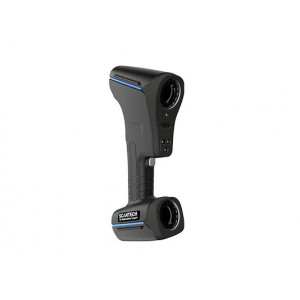
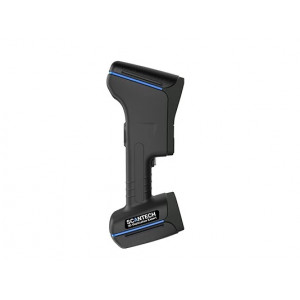
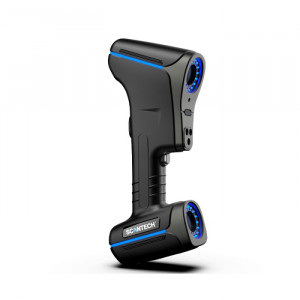
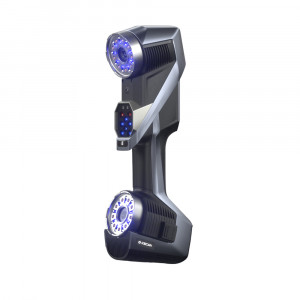
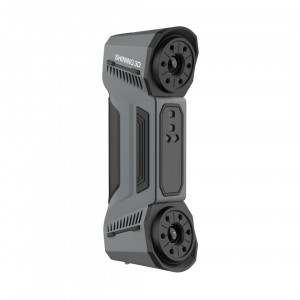
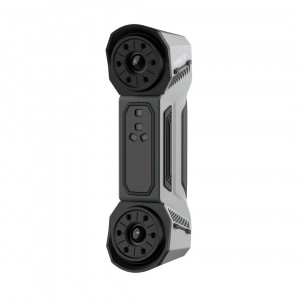
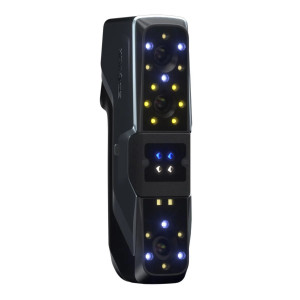
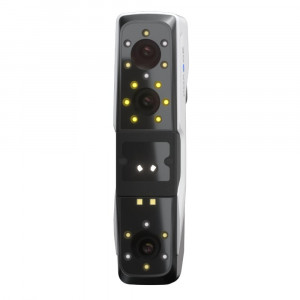
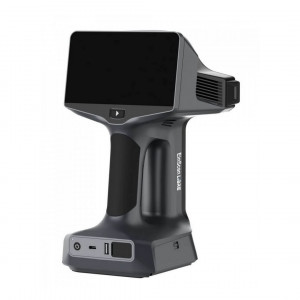
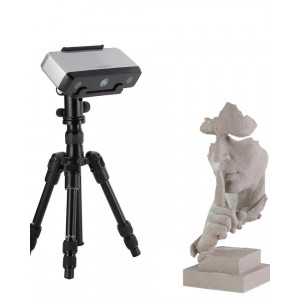
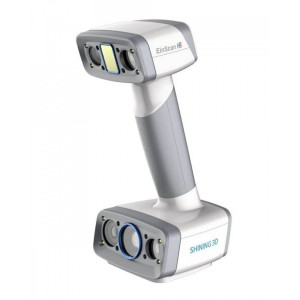
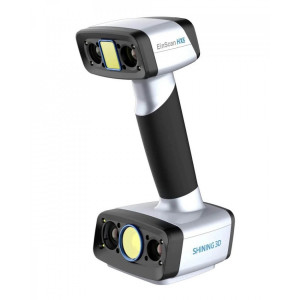
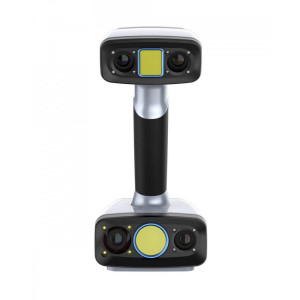
Introducing the TrackScan Sharp-S with i-Probe500, a complete and revolutionary solution for large-scale 3D metrology. Engineered with cutting-edge 25-megapixel industrial cameras and powerful onboard processors for edge computing, this system is purpose-built for measuring large parts over vast distances with exceptional speed. The TrackScan Sharp elevates optical measurement to new heights, featuring a tracking distance of up to 8.5 meters and a massive high-precision measurement range of up to 135 m³. As a completely battery-powered, wireless solution, it liberates you from the constraints of cables, enabling a smooth and powerful measurement experience for both non-contact scanning and contact probing in any industrial environment.
Breakthrough Measurement Freedom Across Expansive Areas
Unrivaled Long-Distance and Large-Volume Tracking
![]()
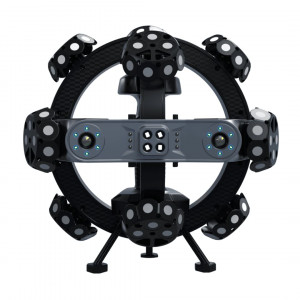
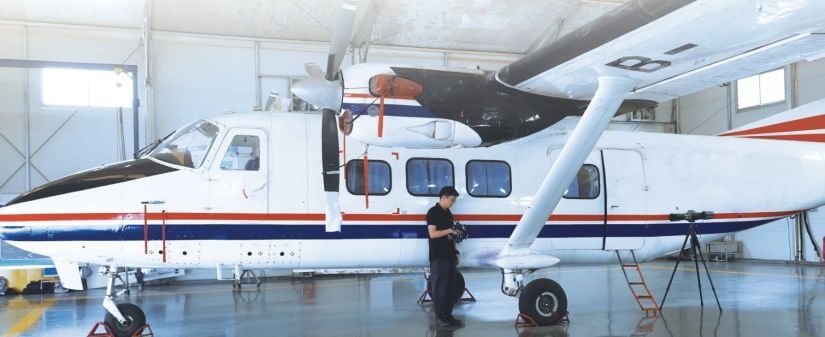
The TrackScan Sharp utilizes a dynamic adaptive LED algorithm and an extended depth of field to support an incredible maximum tracking distance of 8.5 meters. This empowers you to effortlessly tackle the most demanding challenges, including the measurement of large-scale parts in the aerospace, energy, and heavy industry sectors. Its industrial-grade, high-precision measurement range of up to 135 m³ is made possible by a large tracking volume and a robust edge calibration algorithm. This capability eliminates the need to frequently move the tracker, allowing you to efficiently measure entire large components from a single, optimal position.
Experience True, Untethered Scanning Freedom
A Seamlessly Wireless and Intuitive System
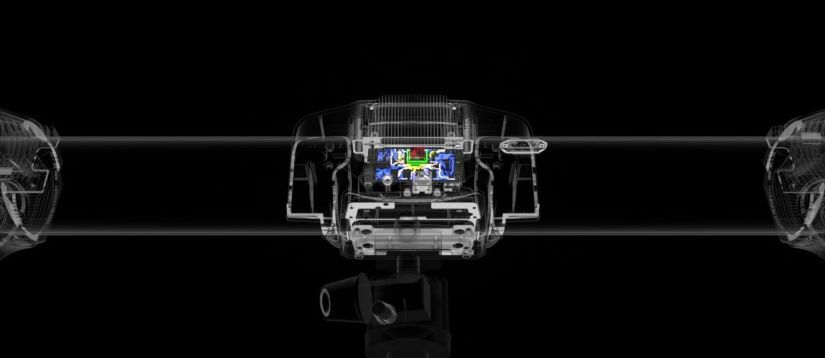
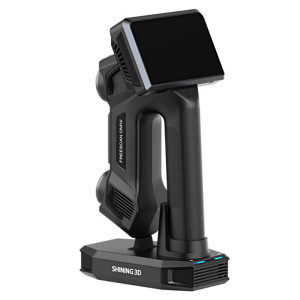
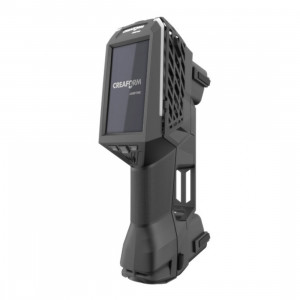
Break free from the restrictions of cables and complex setups. Both the 3D scanner and the optical tracker in the TrackScan Sharp system are equipped with powerful onboard processors for real-time edge computing.
Combined with long-lasting battery power and external WNICs, this architecture enables a completely wireless measurement workflow.
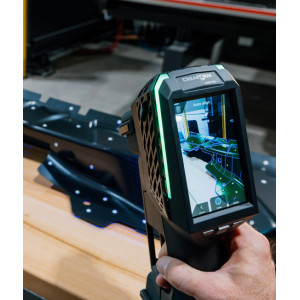
The system's plug-and-play design ensures it connects automatically upon startup without the need for complex settings, allowing you to begin scanning instantly.
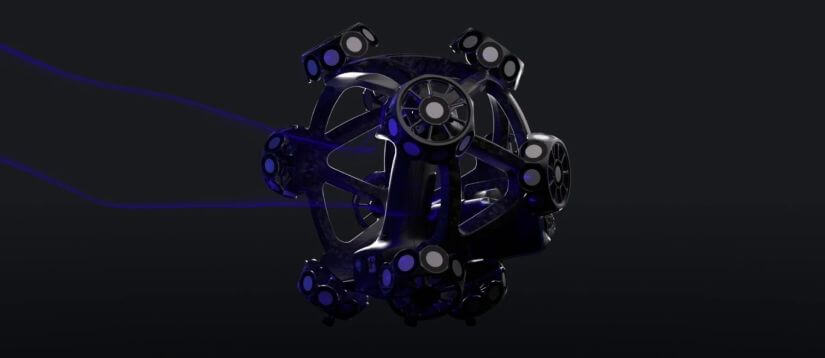
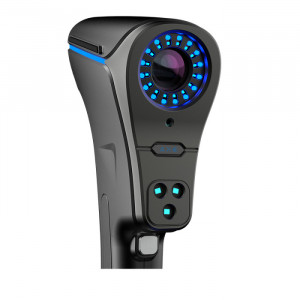
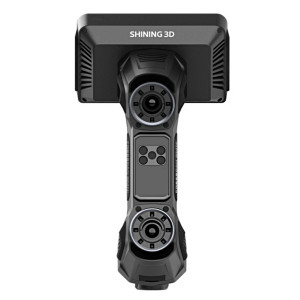
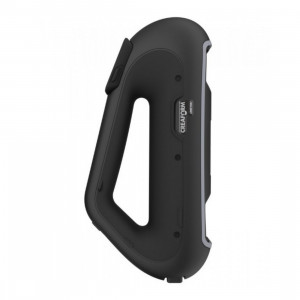
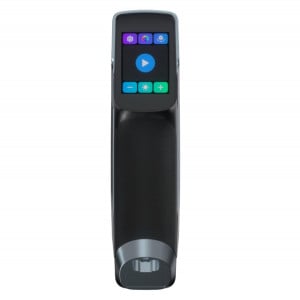
With ergonomically placed, user-friendly buttons and a balanced design, you can enjoy a flexible and unencumbered 3D scanning experience anywhere your work takes you.
Metrology-Grade Precision and Unshakable Stability
Reliable Performance in Any Environment
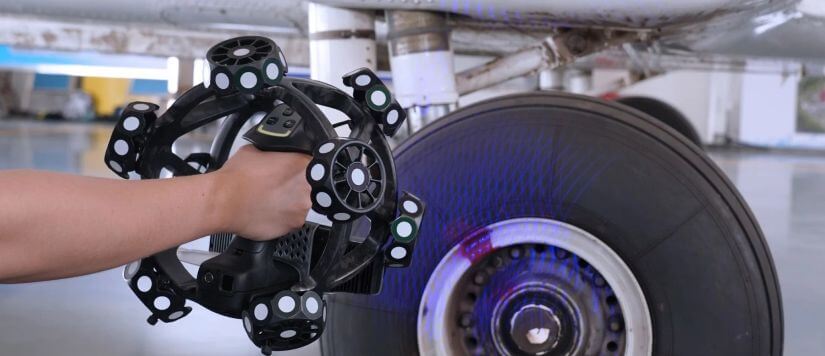
The TrackScan Sharp measurement system is constructed with metrology-grade hardware and innovative in-house algorithms to achieve a maximum volumetric accuracy of 0.048 mm within a 10.4 m³ volume, meeting the most stringent industrial requirements. The 3D scanner itself features an innovative and stable structure with CFFIM technology, ensuring a lightweight design with exceptional strength.
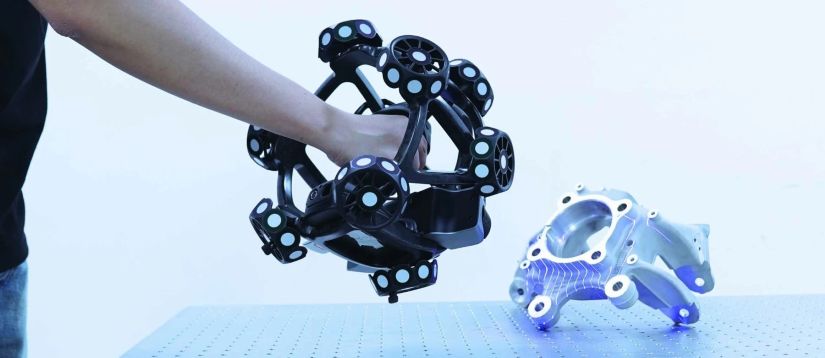
This rugged construction maintains stable performance and is unaffected by the thermal variations typical of shop-floor environments, guaranteeing high-precision measurements every time.
Extreme Speed Data Capture Without Compromise
Accelerated Scanning, Meticulous Detail
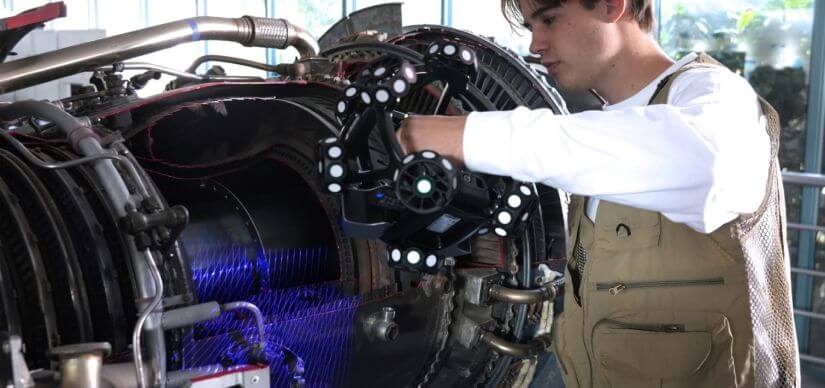
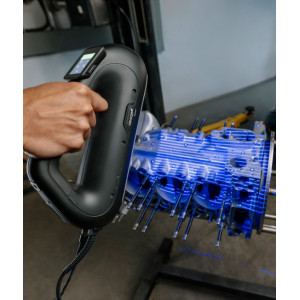
Enhanced by advanced hardware and powerful edge computing, the TrackScan Sharp scans at an impressive rate of up to 6 million measurements per second using 89 parallel blue laser lines.
Whether you are inspecting complex aerospace parts or large-scale industrial machinery, the TrackScan Sharp is the ideal tool for capturing 3D data and rapidly identifying deviations. For intricate features, the system's fine scanning mode, powered by 17 parallel laser lines, allows you to capture details like slots, holes, and sharp corners with exceptional precision and speed, ensuring your parts are meticulously represented in a comprehensive and accurate digital model.
A Modular and Expandable Measurement Universe
Customizable for Any Measurement Challenge
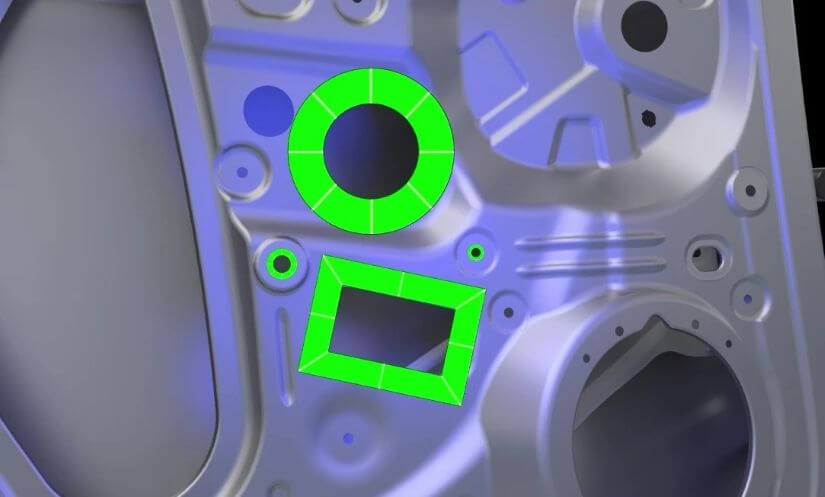
- Intelligent Edge Detection: An optional function powered by gray-value measurement allows you to precisely inspect geometric features such as holes, slots, and edges, capturing critical information like position and diameter with ease.
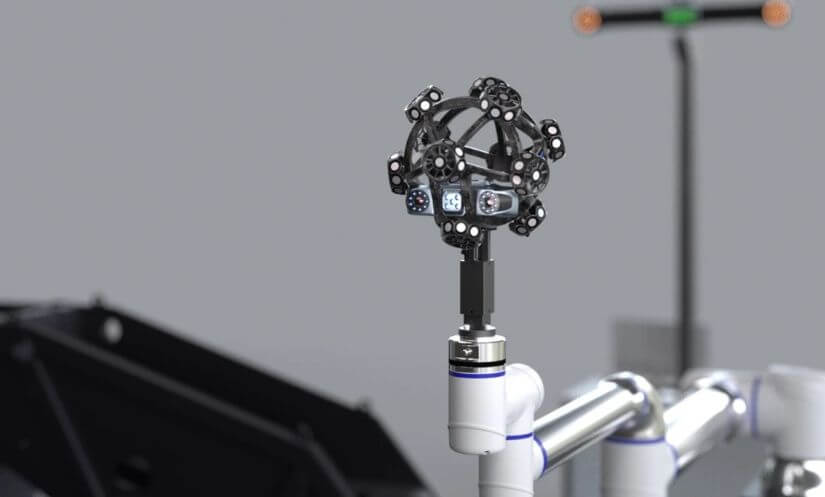
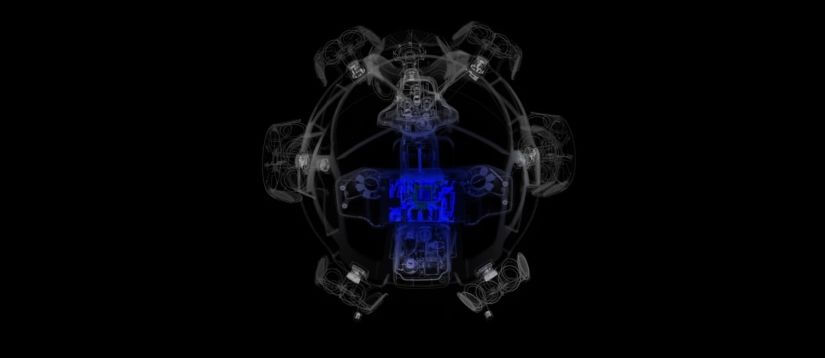
- Automation Ready: The scanner's structure is optimized for seamless mounting on a robotic arm. Its 360-degree distributed target sets allow for precise, uninterrupted tracking, forming the foundation of an efficient automated batch measurement system.
![]()
- Scalable Multi-Tracker Measurement: The measurement range can be dynamically extended by adding more i-Trackers to the network, enabling you to measure even larger objects and complete assemblies without any loss of accuracy.
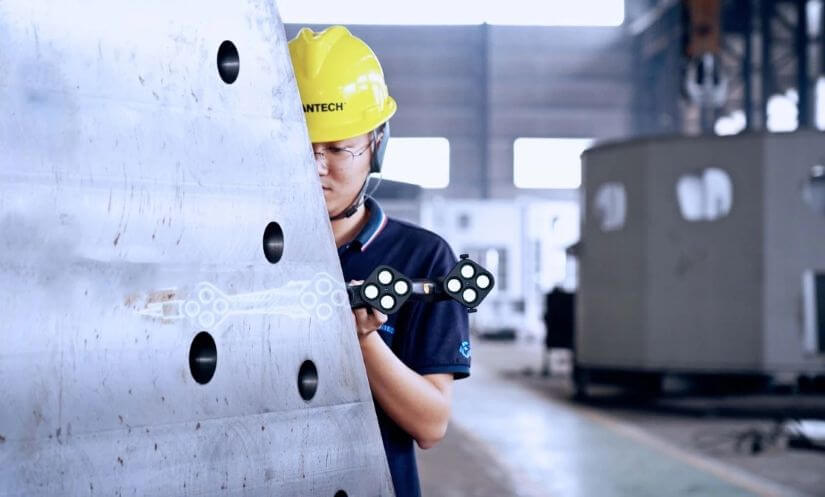
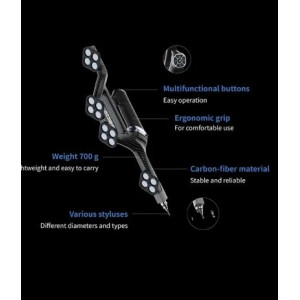
- Versatile Contact Probing: The system can be paired with the tracking i-Probe 500 to perform high-precision contact measurements on inaccessible areas like reference holes and hidden points, with both wired and wireless options available.
i-Probe500: Precision Contact Measurement for Hard-to-Reach Areas
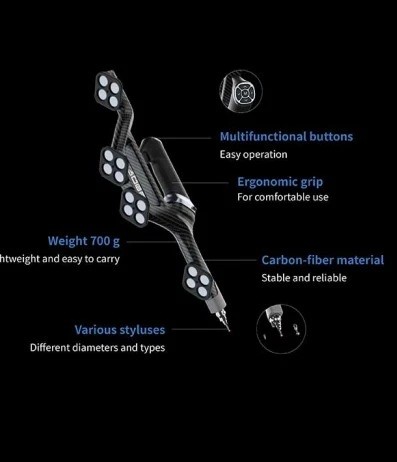
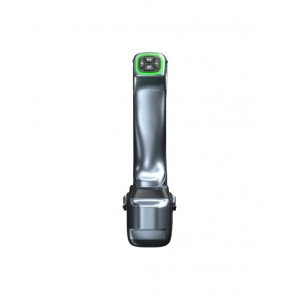
The i-Probe is a lightweight, portable, and reliable 3D digitizer that perfectly complements the TrackScan Sharp system. Thanks to its 500-mm length and a sophisticated algorithm, the i-Probe can measure reference holes, hidden points, and other inaccessible areas with ease and high accuracy, even when some optical targets are blocked. Its dynamic referencing capabilities allow it to calculate and correct for any position deviations, ensuring high-precision measurements on the shop floor or outdoors. This makes it the ideal flexible solution for inspecting complex automotive parts, aviation components, pipelines, and irregular structures.
Technical Specifications of the TrackScan Sharp S
- Scan Modes: Ultra-fast (89 blue laser lines), Hyperfine (17 parallel blue lines), Deep-hole (1 blue laser line)
- Measurement Rate: Up to 6,000,000 measurements/s
- Probing Accuracy: Up to 0.025 mm
- Hole Position Accuracy: 0.05 mm
- Scanning Area: Up to 800 mm × 700 mm
- Resolution: Up to 0.02 mm
- Stand-off Distance: 300 mm
- Depth of Field: 400 mm (Standard), 800 mm (Large)
- Industrial High-Precision Measurement Range (Sharp-S specific): Up to 135 m³
- Scanning Range (Sharp-S specific): Up to 233 m³
- Volumetric Accuracy (Standard): 0.048 mm (at 3.5m), 0.069 mm (at 5.2m), 0.128 mm (at 7.2m), 0.159 mm (at 8.5m)
- Volumetric Accuracy (with Photogrammetry): 0.044 mm + 0.012 mm/m
- Operating Temperature Range: -10°C to 40°C
- Output Formats: .stl, .pj3, .igs, .asc, and others
Why Choose 3DDevice?
At 3DDevice, our expertise is your advantage. With a deep understanding of 3D scanning technology cultivated since 2012, we are uniquely positioned to guide you to the perfect solution. We offer professional consultations and dedicated, qualified support before, during, and after your purchase. When you invest in a TrackScan Sharp with us, you also receive complimentary professional training to ensure you unlock its full potential. Contact us today to learn more or to schedule a demonstration.

