

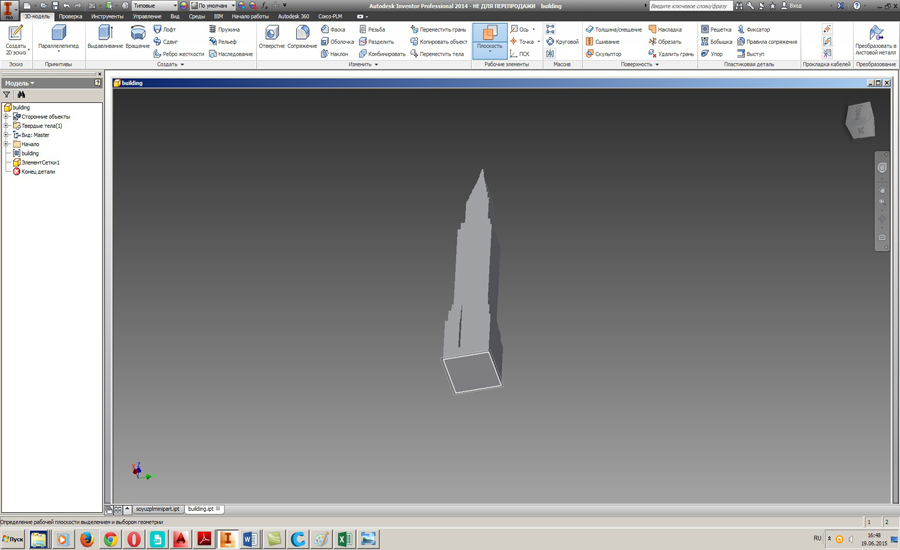
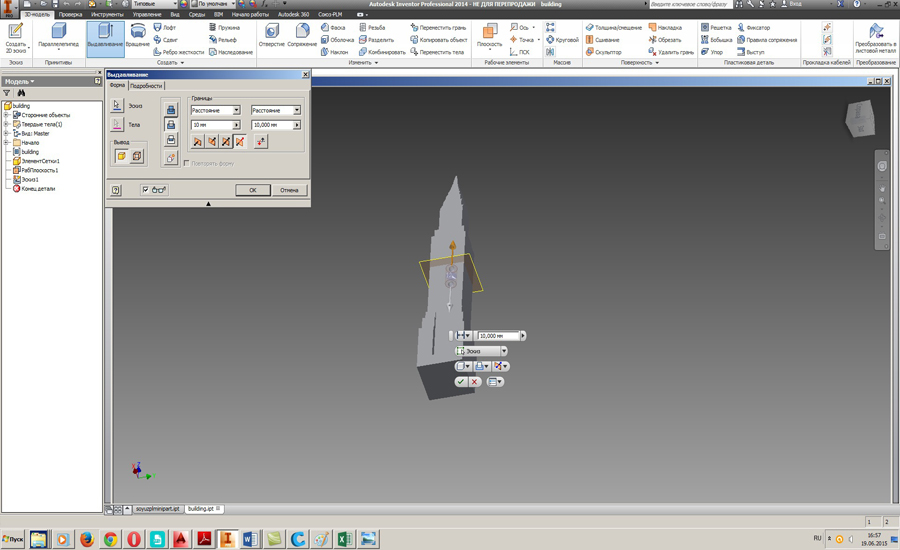
3D друк 3D моделі! При друку можна зіткнутися з проблемою, коли модель, яку хочеться надрукувати, виходить за межі робочої області. Для прикладу візьмемо 3D модель будівлі розмірами 50х50х265, яка не поміщається на робочій області 3D принтера.
3D друк 3D моделі
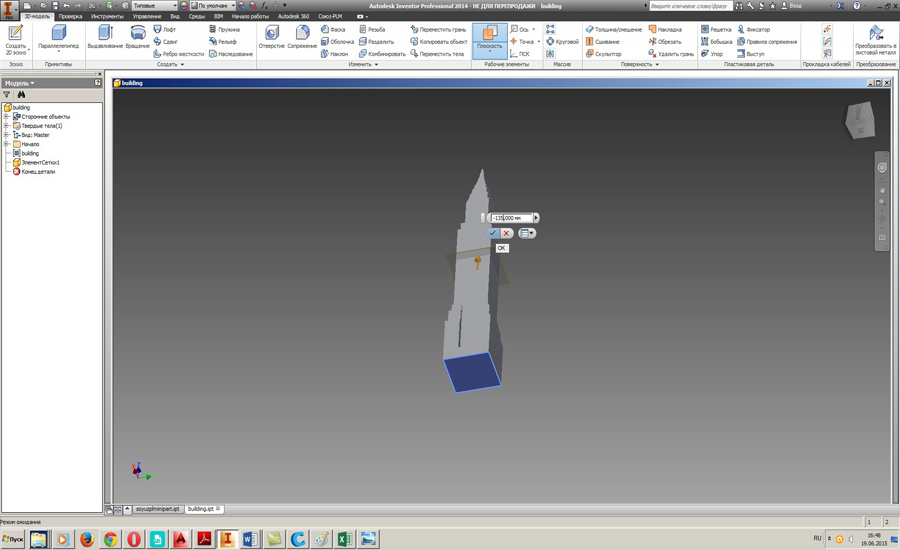
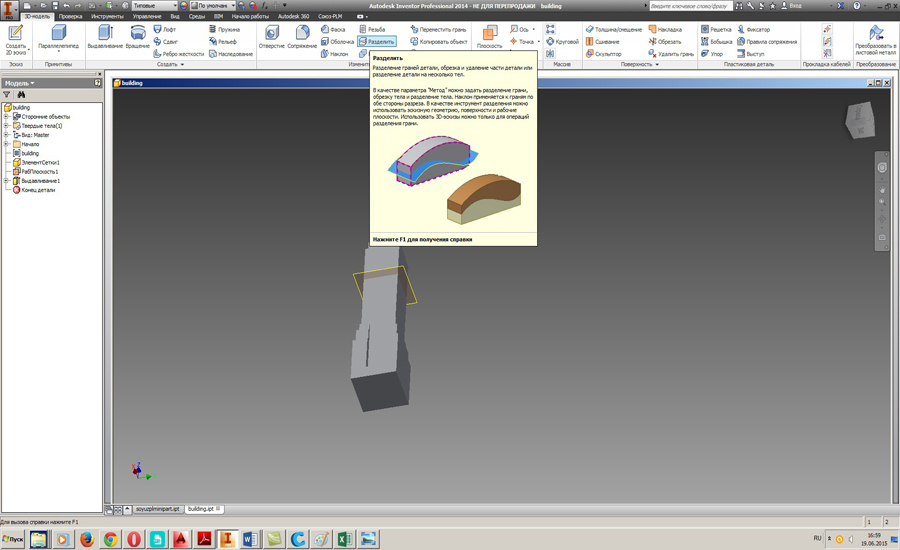
 Цю проблему можна вирішити, якщо розділити модель на дві частини за допомогою програми Autodesk Inventor. Відкриваємо модель у програмі та створюємо робочу площину на висоті 135 мм від основи моделі:
3D друк 3D моделі
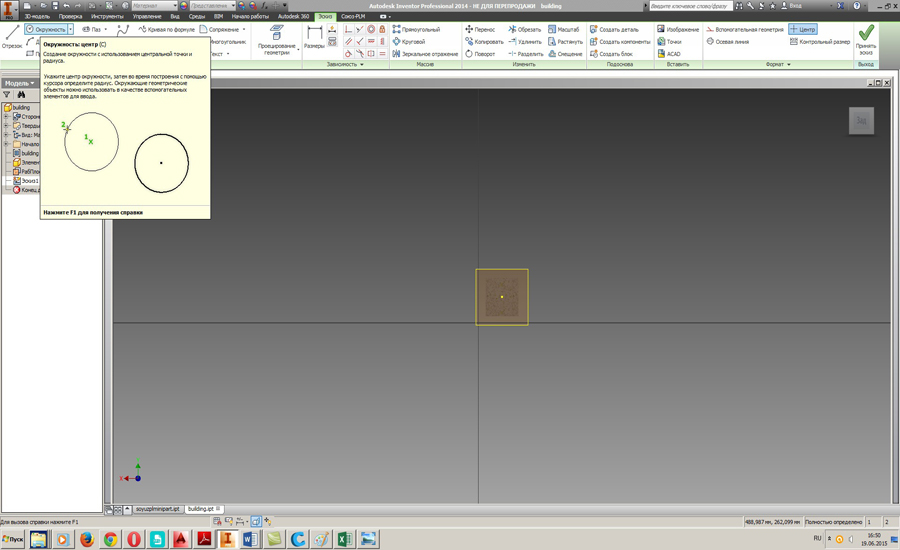
Тепер нам потрібно створити отвори у майбутніх деталях. Для цього створюємо ескіз на робочій площині.
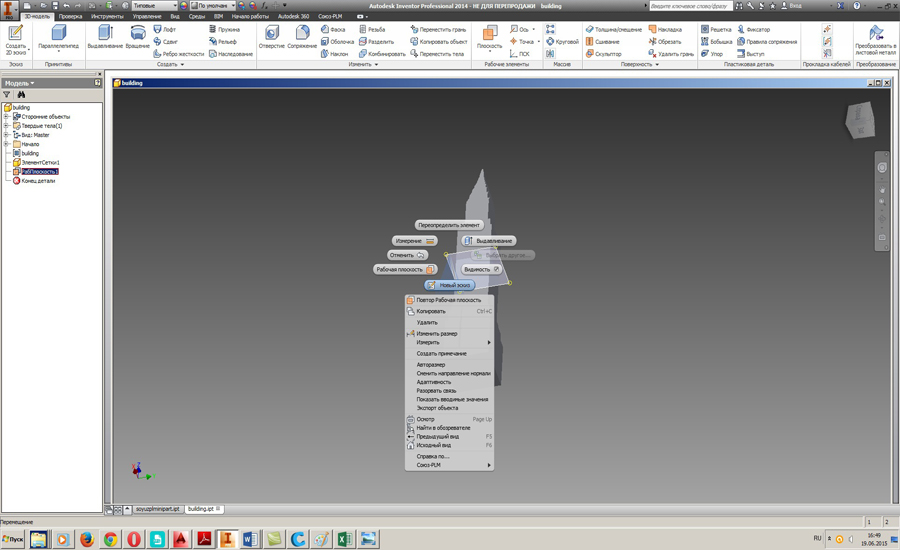 Натискаємо кнопку F7:
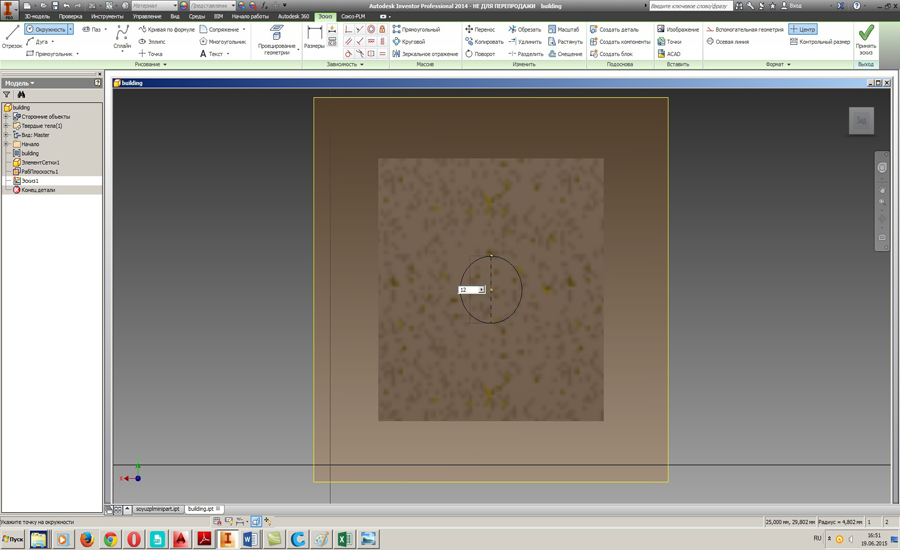
 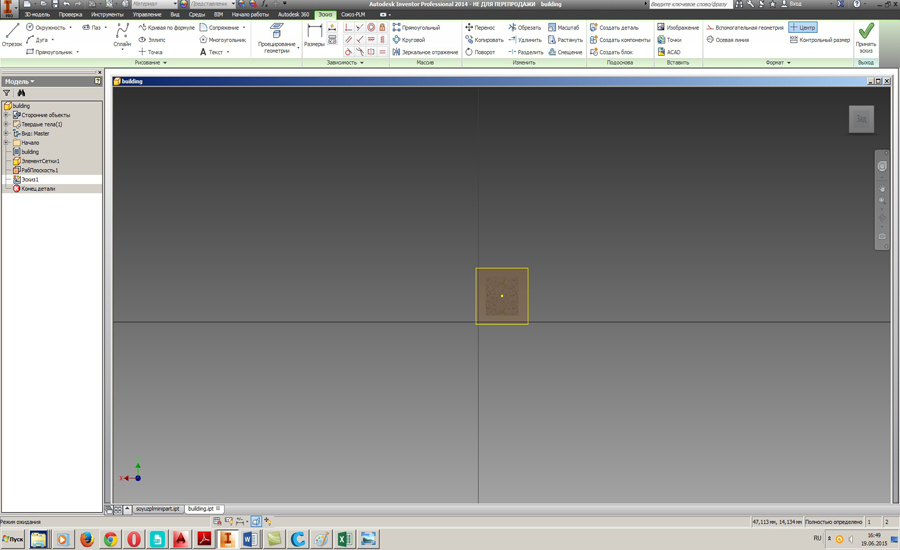 І малюємо коло потрібного діаметра (для прикладу 12 мм):
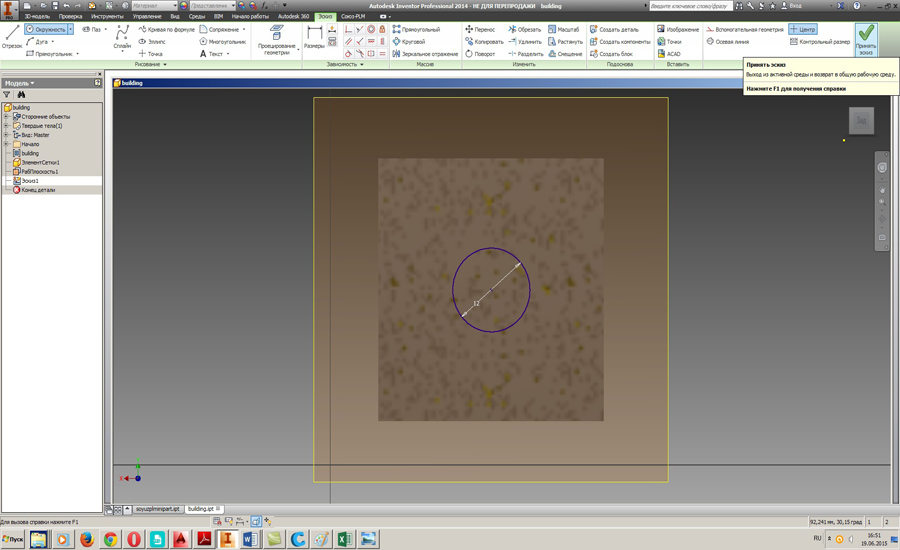
Закриваємо ескіз:
 І запускаємо витискування:
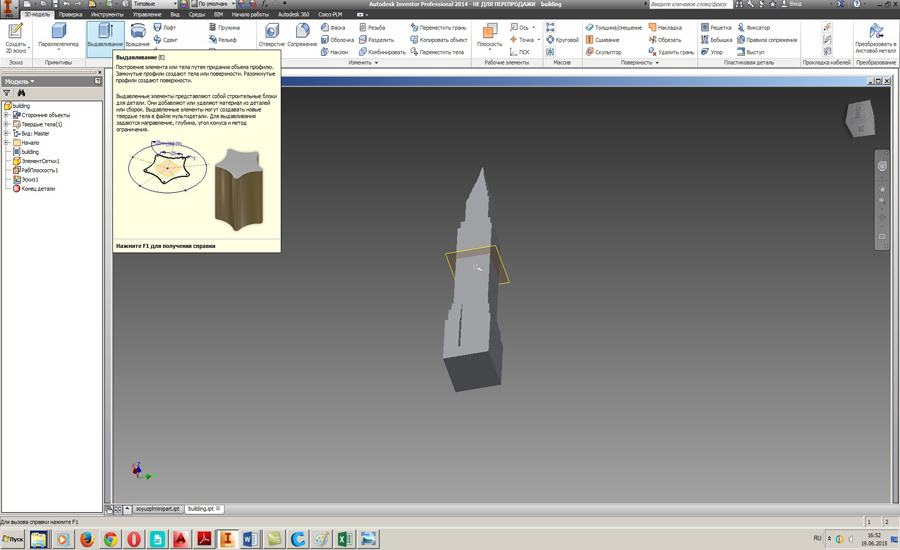
Вистискування виконуємо у напрямку «назовні» та задаємо глибину 10 мм. Повторюємо процес для другої частини моделі, щоб отвори збігалися. Після цього зберігаємо кожну частину як окремий STL-файл для друку.
Підготовка до 3D друку
Відкриваємо програму для підготовки моделі до друку (наприклад, Cura або PrusaSlicer) і завантажуємо першу частину STL-файлу. Перевіряємо, чи модель поміщається на робочій області 3D принтера. При необхідності масштабуємо модель або змінюємо її орієнтацію для оптимального друку.
Налаштовуємо параметри друку: шар – 0,2 мм, швидкість – 60 мм/с, заповнення – 20%, підтримки – при необхідності. Після цього експортуємо G-code для принтера та починаємо друк першої частини. Після завершення друку другої частини перевіряємо збіг отворів та підгоняємо деталі один до одного.
Збірка друкованої моделі
Після друку обох частин модель можна склеїти або з’єднати спеціальними болтами через підготовлені отвори. Це дозволяє отримати повноцінну 3D модель будівлі, яка не виходить за межі робочої області принтера.
Така методика дозволяє друкувати великі моделі, розділяючи їх на частини, не обмежуючись розміром робочої області 3D принтера. Крім того, це полегшує транспортування та подальше використання друкованих об’єктів.
 пластик MonoFilament 1.75 мм 0.75 кг Чорний")
 пластик MonoFilament 1.75 мм 0.75 кг Чорний")


Залишити коментар